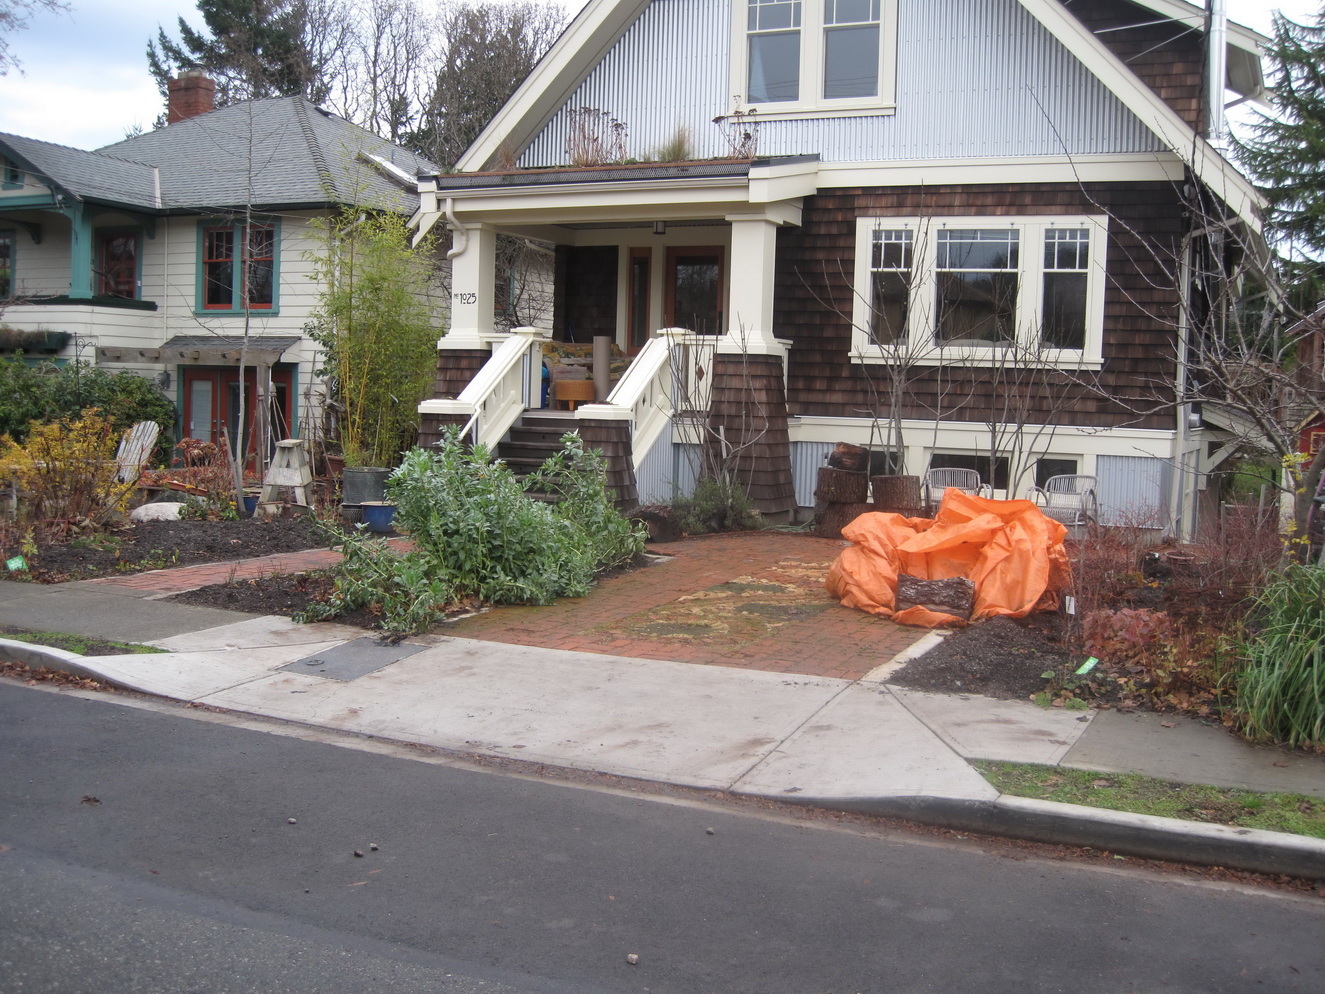
Here is the design that we presented at the community meeting last Thursday. We’re pretty excited by what Mark A and Kate have come up with.
The renovation of the existing house respects and maintains the original form and roof line, while the addition is intentionally contemporary, simple and contrasting. This design strategy highlights the relationship between old and new.
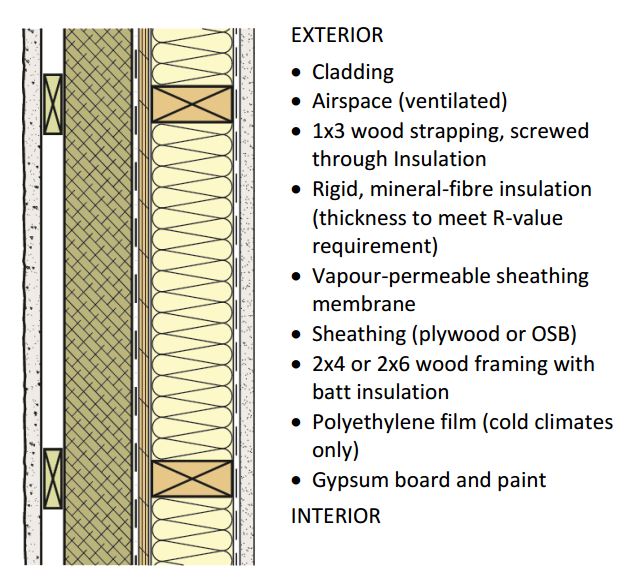
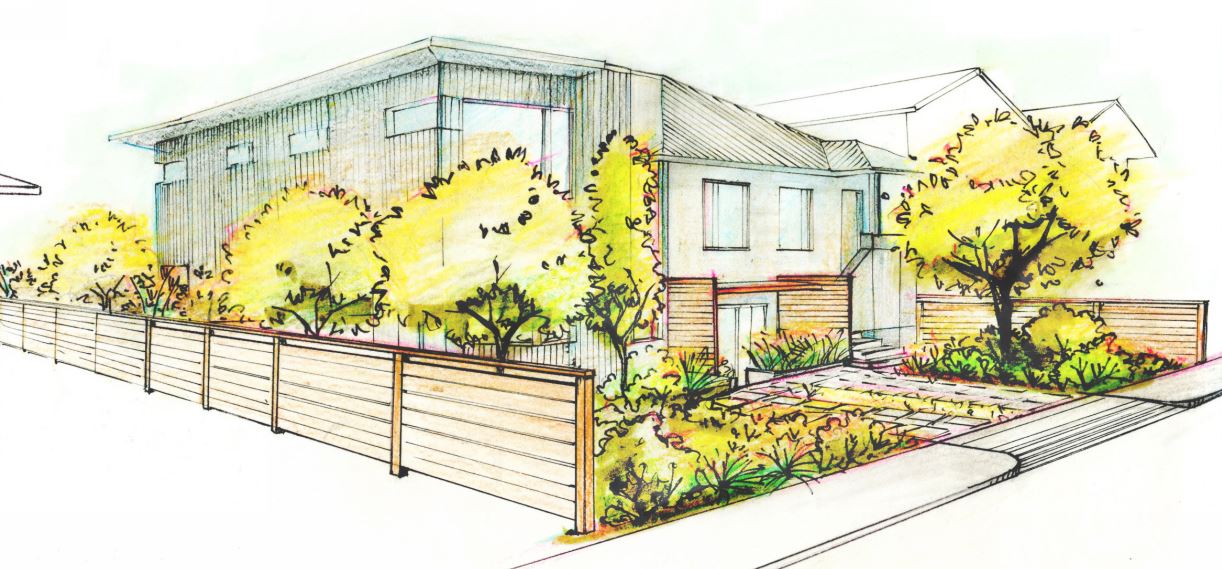
We are using traditional materials, including cedar siding and stucco, that are common throughout the neighbourhood. Deep window reveals introduced by the thicker Passive House walls add visual interest and depth to the facade. The landscaping ties everything together.
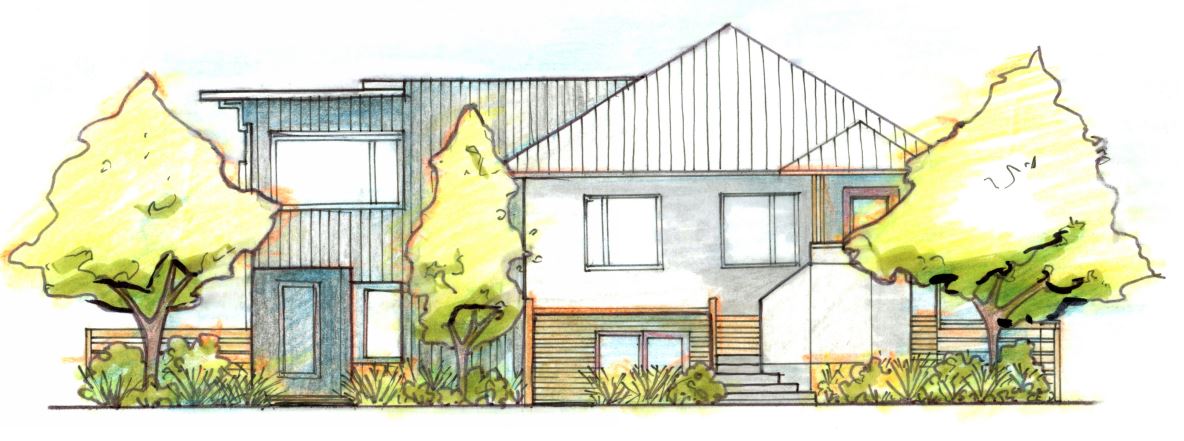
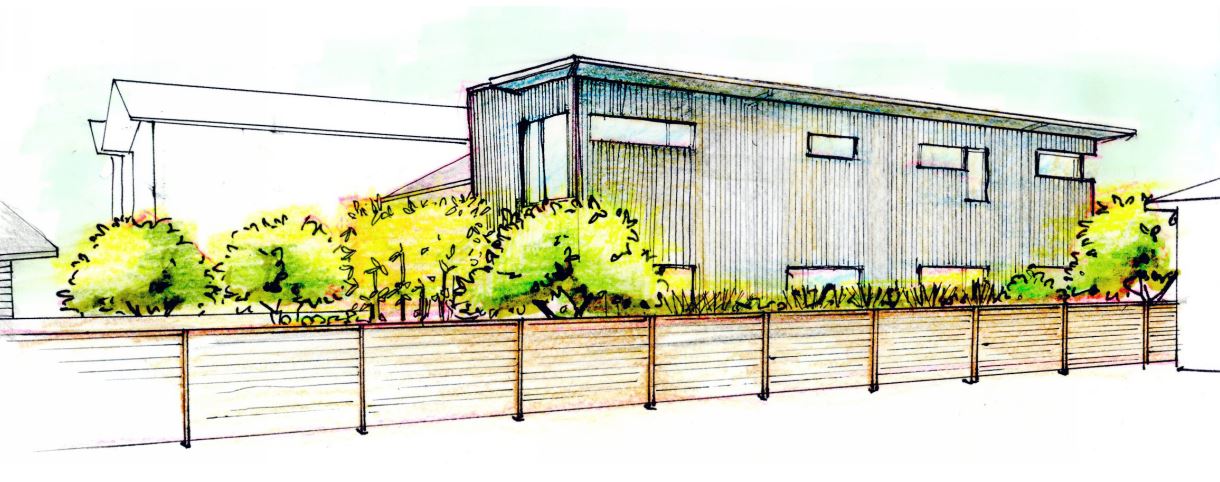
Front elevation, sketches by Kate Stefiuk
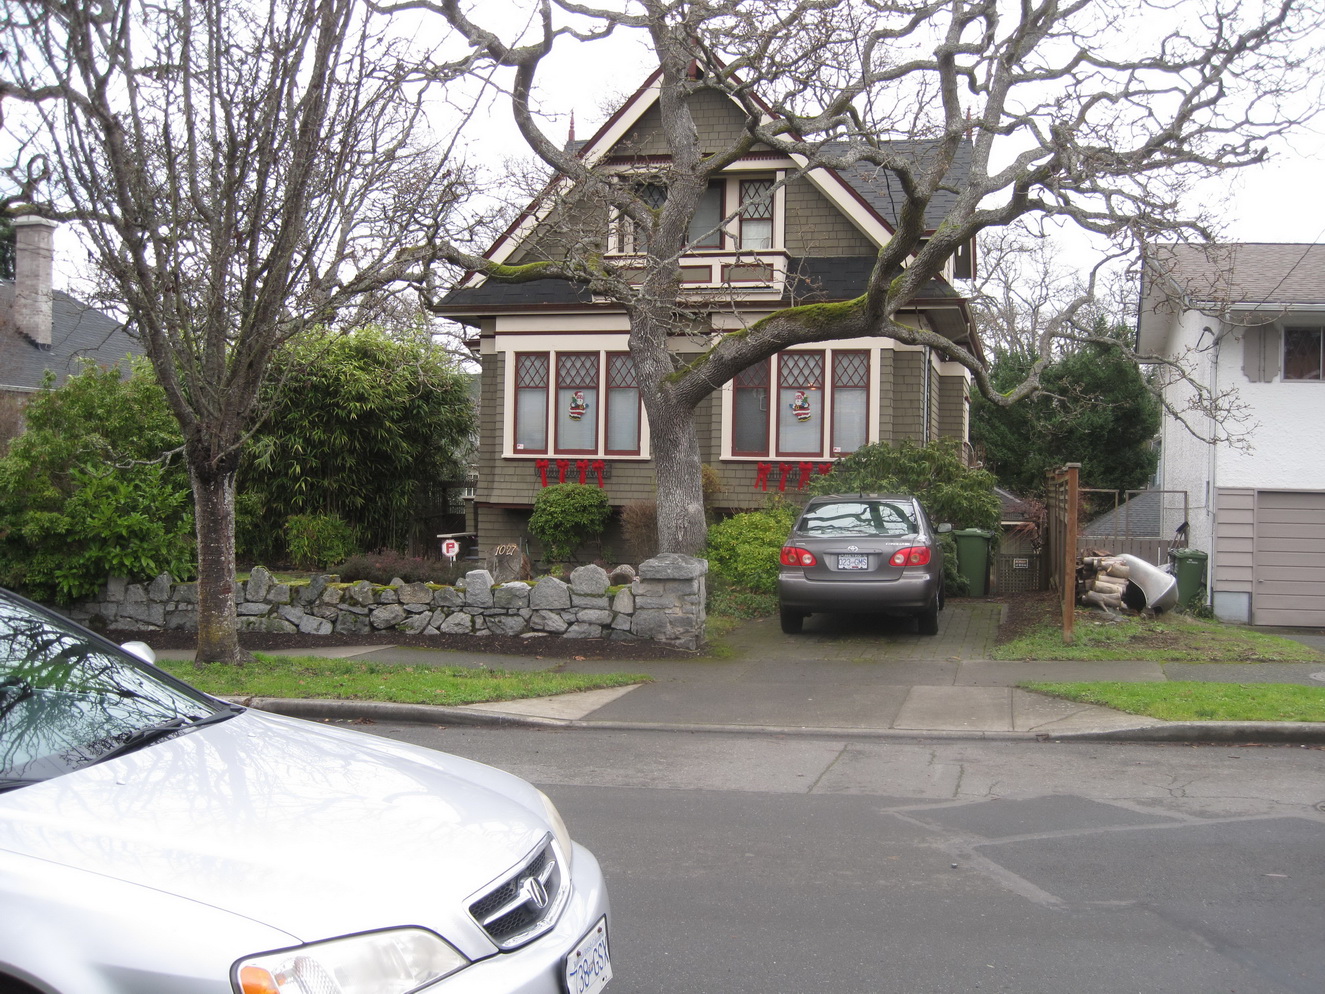
Front yard, side view
Side yard from our south neighbour’s back yard

Back yard with sunken workshop
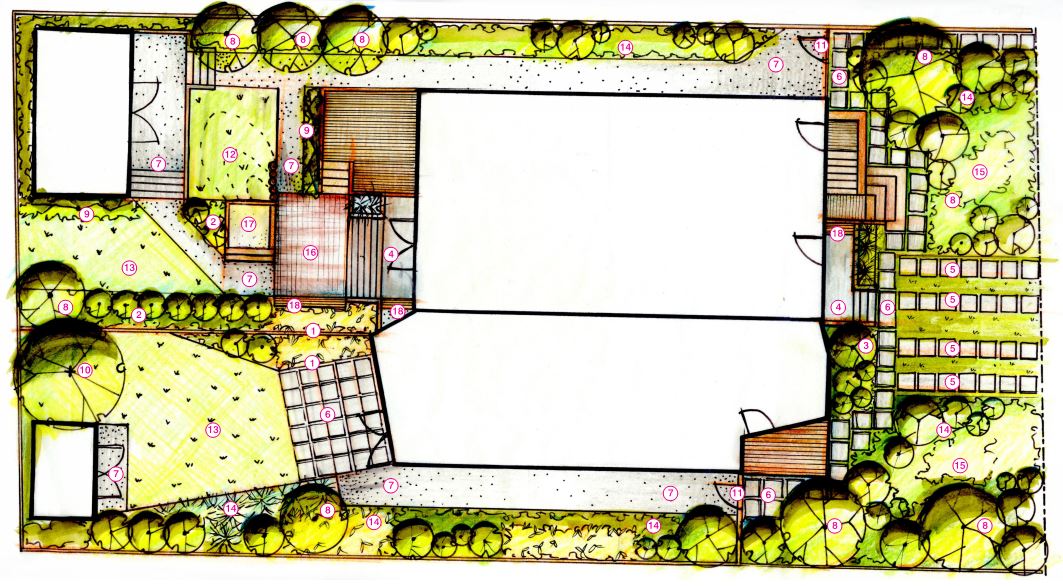
Landscape plan by Kate Stefiuk
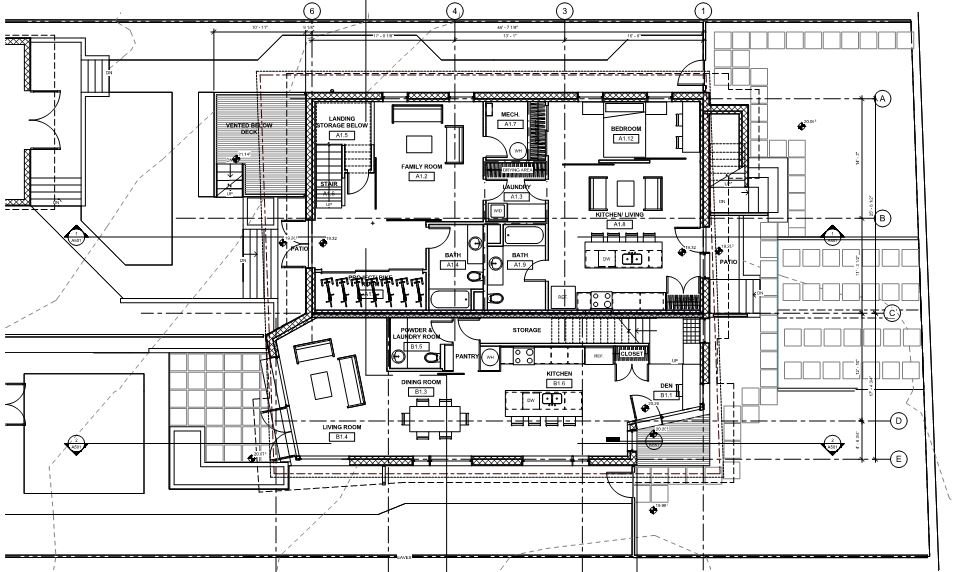
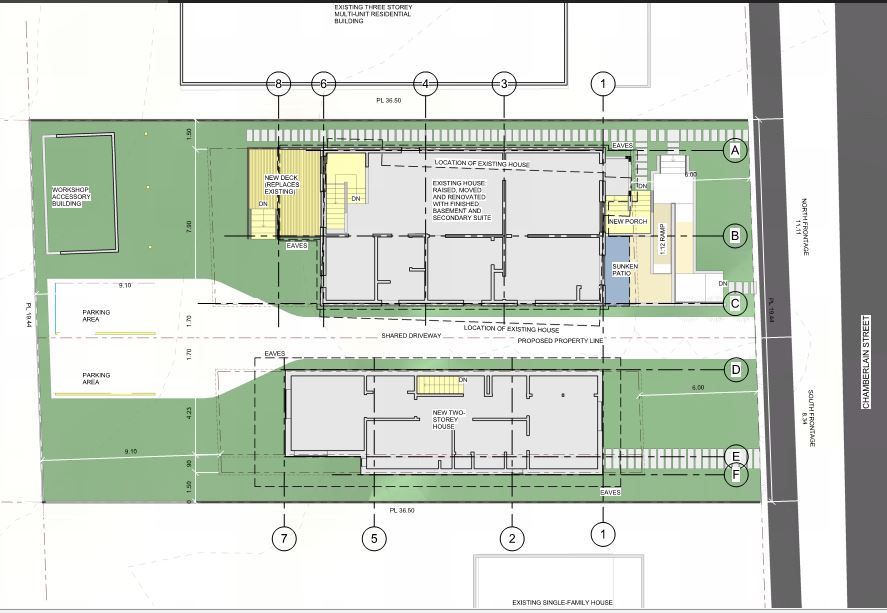
Lower floor plan, by Mark Ashby Architecture
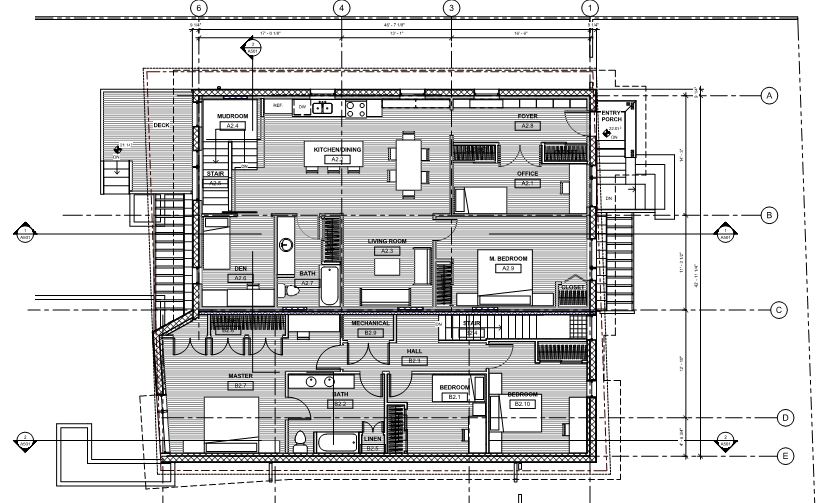
Upper floor plan
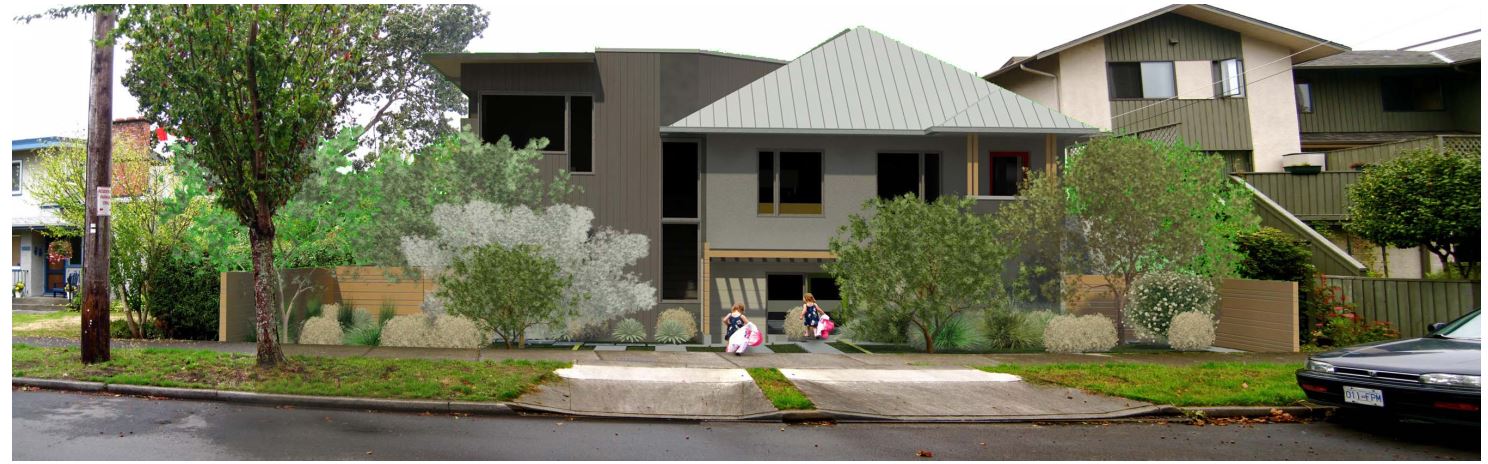
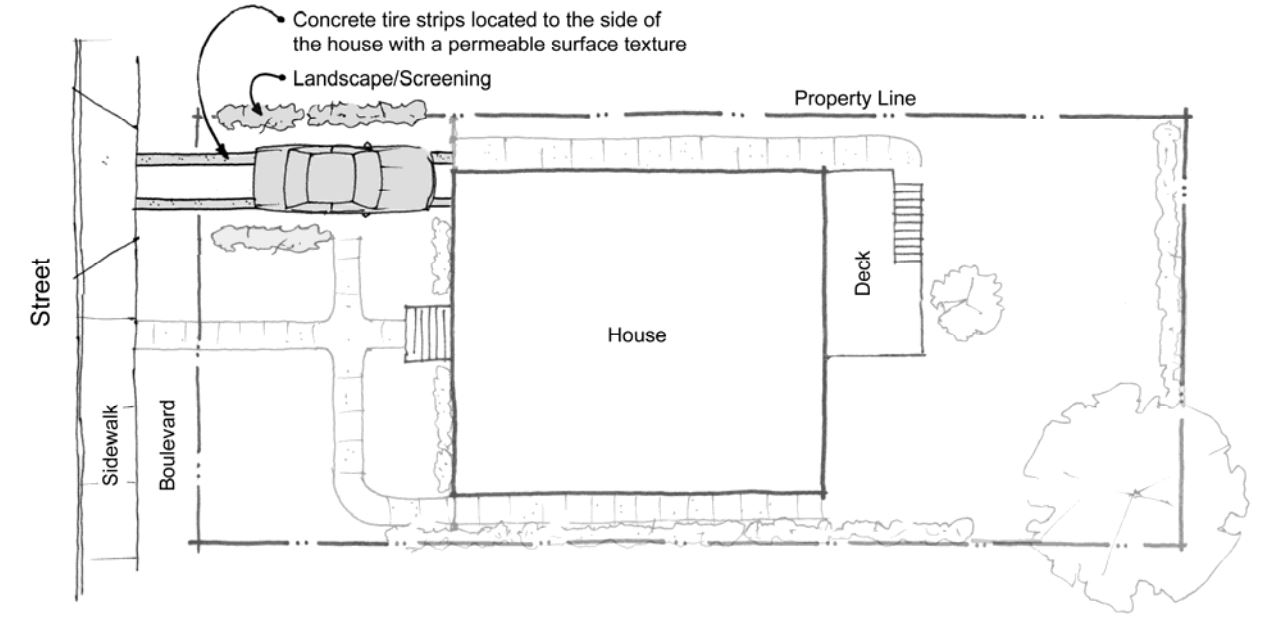
Streetscape, by Mark Ashby Architecture